
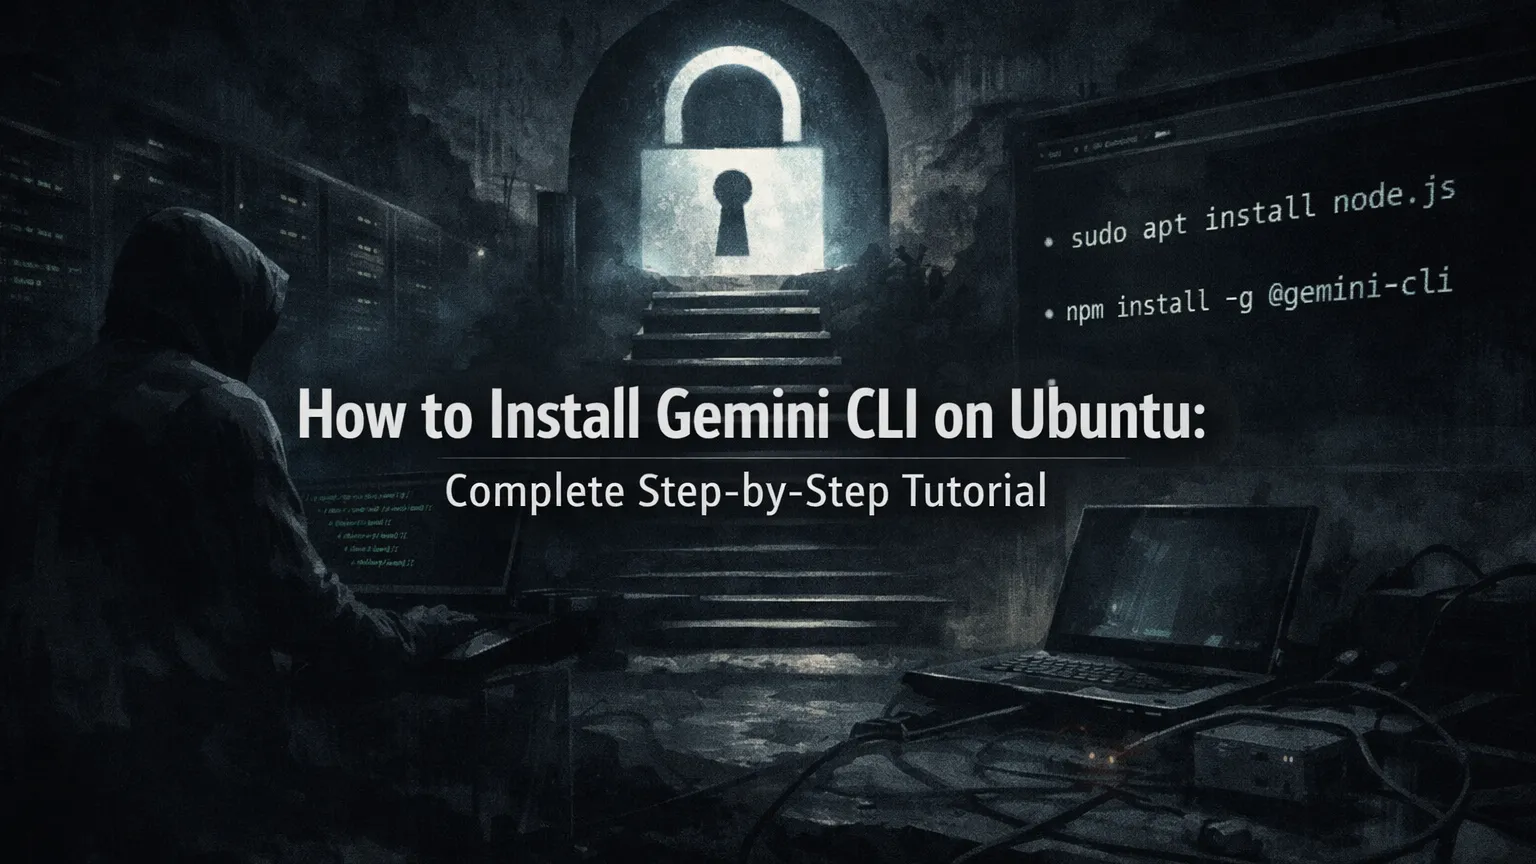
UbuntuでGemini CLIをインストールする方法:完全なステップバイステップチュートリアル
前提条件
Ubuntu に Gemini CLI をインストールする前に、以下を準備してください:
-, Ubuntu のバージョン: 20.04 LTS 以降 (22.04、24.04、および 26.04 は完全にサポートされています)。 -, 管理者権限: パッケージ管理のための Sudo 権限。 -, インターネット接続: Node.js、npm パッケージ、および認証のダウンロードに必要です。 -, Google アカウント: Gemini モデルにアクセスするための OAuth サインインに必要です。 -, 推奨ハードウェア: 対話型セッション中のスムーズなパフォーマンスのため、少なくとも 4 GB RAM と 2 CPU コア。
想定される基礎知識: ターミナルを開き、基本的な apt および bash コマンドを実行する方法を知っていること。
ステップ 1: システムパッケージの更新
まず、依存関係の競合を防ぐためにパッケージリストを更新し、既存のパッケージをアップグレードします:
sudo apt update && sudo apt upgrade -y
このステップにより、最新のセキュリティ更新とリポジトリ情報を取得できます。
ステップ 2: Node.js 20 以降のインストール
Gemini CLI には Node.js バージョン 20 以降が必要です。Ubuntu のデフォルトリポジトリには古いバージョン(例:Ubuntu 24.04 上の Node 18)が含まれていることがよくあります。
推奨方法:NodeSource リポジトリを使用
curl -fsSL https://deb.nodesource.com/setup_20.x | sudo -E bash -
sudo apt install -y nodejs
代替方法:nvm (Node Version Manager) を使用
より簡単なバージョン管理には:
curl -o- https://raw.githubusercontent.com/nvm-sh/nvm/v0.40.1/install.sh | bash
source ~/.bashrc
nvm install 20
nvm use 20
nvm alias default 20
インストールを確認します:
node --version
npm --version
Node.js については v20.x.x のような出力、npm については対応するバージョンが表示されるはずです。
ステップ 3: Gemini CLI のインストール
グローバルインストール(日常使用に推奨)
npm install -g @google/gemini-cli
これにより、gemini コマンドがシステム全体で利用可能になります。
恒久的なインストールなしで簡単に試す
最初に試したい場合は:
npx @google/gemini-cli
ユーザーレベルインストール(権限の問題を回避)
グローバルインストールで権限エラーが発生する場合:
mkdir -p ~/.local/bin
npm config set prefix '~/.local'
export PATH="$HOME/.local/bin:$PATH"
echo 'export PATH="$HOME/.local/bin:$PATH"' >> ~/.bashrc
source ~/.bashrc
npm install -g @google/gemini-cli
ステップ 4: インストールの確認
Gemini CLI が正しくインストールされているか確認します:
gemini --version
Gemini CLI の現在のバージョンが表示されるはずです。
ステップ 5: 起動と認証
CLI を初めて実行します:
gemini
ツールは Google でサインインするように促します。ブラウザウィンドウが自動的に開きます。OAuth フローを完了し、ターミナルに戻ります。
認証に成功すると、対話型 Gemini CLI インターフェースが読み込まれます。利用可能なコマンドを表示するには /help を使用してください。
ベストプラクティス: 起動する前にプロジェクトディレクトリに移動します:
cd ~/my-project
gemini
よくある問題とトラブルシューティング
-I gemini: command not found(gemini コマンドが見つかりません): ターミナルを再起動するか、source ~/.bashrc を実行してください。echo $PATHでPATHを確認してください。
-I npm install 中に「Permission denied」(権限が拒否されました): 上記のユーザーレベルインストール方法を使用し、sudo npmは使わないでください。
-I Node.js バージョンエラー: NodeSource のセットアップを再度実行するか、nvm を使用してバージョンを切り替えてください。node --versionで確認してください。
-I 認証に失敗します: ブラウザのポップアップブロッカーを無効にし、Cookie が有効になっていることを確認して、再試行してください。必要に応じて npm キャッシュをクリアしてください: npm cache clean --force
-I ネットワークタイムアウトやダウンロードエラー(例: ripgrep prebuilt): 安定したインターネット接続を確保してください。インストールを再試行するか、ワークアラウンドとしてnpxを使用してください。
-I ビルドツールが見つかりません: 開発用依存関係をインストールしてください:
sudo apt install -y build-essential python3
-I WSL 特有の問題: コンパイルエラーが発生した場合は、WSLではなく標準のUbuntuターミナルでコマンドを実行してください。
さらなるヘルプについては、公式GitHubリポジトリを参照してください: https://github.com/google-gemini/gemini-cli 。
次のステップ
- コアコマンドを試す: CLI 内で
/help、/model、または/settingsを入力してください。 - プロジェクトで使用する: 自然言語のプロンプトでGeminiにコードの説明、関数のリファクタリング、新しいファイルの生成を依頼してください。
- カスタマイズする:
~/.config/gemini-cli/にある設定ファイルを編集して、テーマ、デフォルトモデル、拡張機能を変更してください。 - 定期的に更新する:
npm update -g @google/gemini-cliを実行して最新の改善点を入手してください。 - ツールを統合する: Git 連携のような高度なエージェントワークフロー向けのビルトイン拡張機能や MCP サーバーで試してみてください。
これで、Ubuntu ターミナルで強力な AI コーディングアシスタントとして Gemini CLI を使用する準備が整いました。プロジェクトフォルダ内でシンプルなプロンプトから始め、徐々に複雑なエージェントタスクを構築していきましょう。
Gemini でコーディングを楽しんでください!
Continue Reading
More articles connected to the same themes, protocols, and tools.
Referenced Tools
Browse entries that are adjacent to the topics covered in this article.

PaidSync.ai
MCP ServersPaidSync.ai is a hosted MCP server for paid advertising that exposes 610+ tools across 14 advertising, analytics, tagging, and commerce platforms. It supports read/write workflows from AI clients including ChatGPT, Claude, Gemini, Cursor, Claude Code, and Codex, with a free plan.

Hyper3D MCP
MCP ServersHyper3D MCP is Hyper3D's hosted Rodin MCP server for creating 3D assets from natural-language instructions or supported references, checking asynchronous generation progress, and retrieving model download links inside AI coding clients. Official setup is documented for Codex, Claude Code, and Kimi Code CLI.